User Login Multi-Factor Authentication
This topic covers how users can configure their contact details for multifactor authentication for their LaunchPoint login accounts.
FEATURED TOPICS
About Multi-Factor Authentication
Update User Contact Information
First-Time Logon with MFA Settings
About Multi-Factor Authentication (MFA)
This setting allows an user to add their own contact details for multi-factor authentication (i.e., email and phone) on their logon account.
PREREQUISITES AND NOTES
-
First, a system administrator must enable multi-factor authentication (MFA) on the user logon account in the system programming.
-
The user will be prompted to set up their contact details on their first-time logon attempt.
When the user submits their contact information at the first logon page, LaunchPoint immediately issues a random OTP Code (plain text) to the user's email and phone.
-
Every time the logs-in, a new OTP Code is issued. The user must enter the code into the login page when prompted.
-
If the LaunchPoint session expires or the user logs out, the system will generate a new code. LaunchPoint issues a new/different code each time the user signs in.
Update User Contact Information (MFA)
The user can update the multi-factor authentication settings from the User Settings in LaunchPoint. Each user can only see and update their own contact details while they are actively logged in.
STEPS
-
Sign in as normal to the LaunchPoint application - this will include submitting the OTP Code when prompted.
-
Click Settings menu option (side menu).

-
Choose User Settings > Multi-Factor Authentication from the settings menu.
-
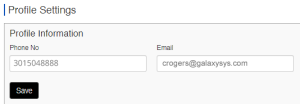
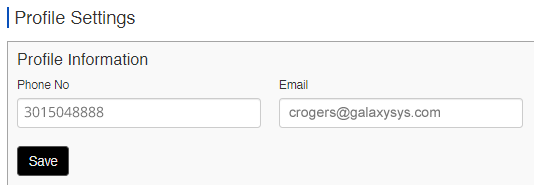
When the Profile Settings page opens, it will display the currently configured information.
-
Enter a valid phone number in the Phone field.
-
Enter a valid email address in the Email field.
-
Click Save button and you will be prompted to confirm changes.
-
Yes = proceed with saving changes.
-
No = cancel changes.

-
-
Click YES to save changes, and you will be prompted to confirm whether to log-out or stay logged-in.
-
Yes = log-out (session will close; you need to logon using your new contact info).
-
No = remain logged-in (session remains open, but system will use the new contact info the next time you logon).

-


User's First-Time Logon
-
The system administrator must enable the MFA feature for the individual user account.
-
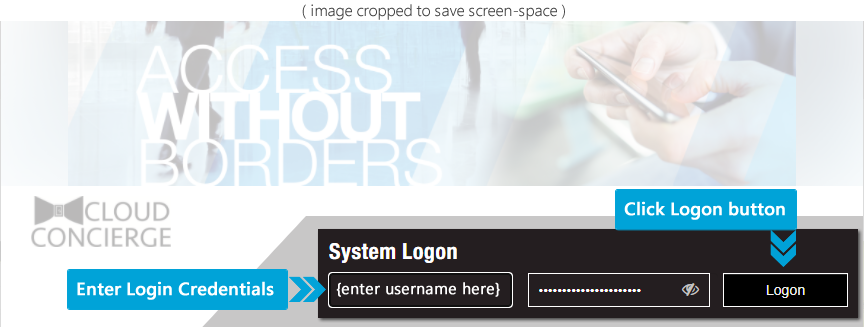
Open the LaunchPoint window, and enter the User Name and Password, and click the Logon button.

-
If this is the first login, MFA Registration popup will display.
The window will only popup on the first logon attempt.
-
Enter a valid phone and email
-
Click Send button to generate a random OTP code (plain text).
RESULT: a random code is sent to both the phone and email at the same time.

-
-
When the text arrives, enter the OTP Code into the MFA Authentication popup and click Submit to logon.
-
Clicking Submit will submit the OTP Code you entered.
-
Clicking Send New Code button will issue a new random OTP Code to your phone.
-
Clicking Close will exit the MFA popup message-box without logging in.
Note: clicking the eyeball icon to show/hide the code, which helps user see they are typing correctly.

-
-
If the code is rejected, the system will resend another code until you have exhausted your retry attempts.
-
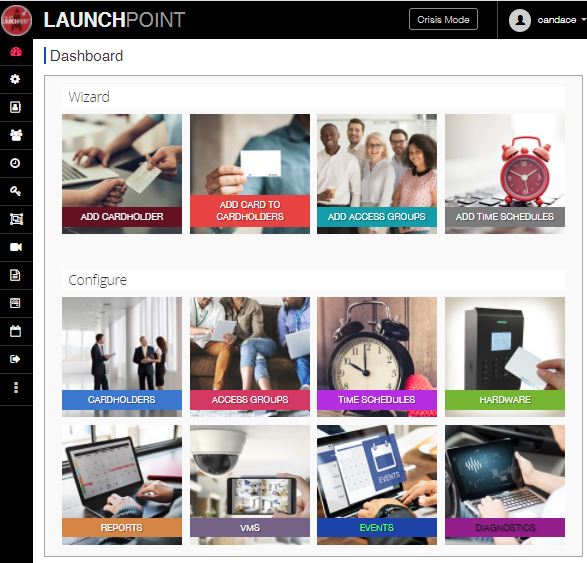
When the code is accepted, the LaunchPoint Dashboard page will display.